Using the Snipping Tool
To open the Snipping Tool:
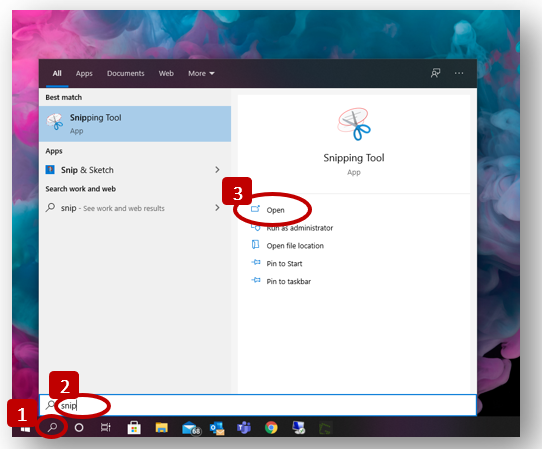
1. Use the application search next to the start menu.
2. Enter “snip."
3. Click Open.
For quick access to the Snipping Tool, you can pin it to the taskbar. To pin the Snipping Tool to the Taskbar, complete the following steps:
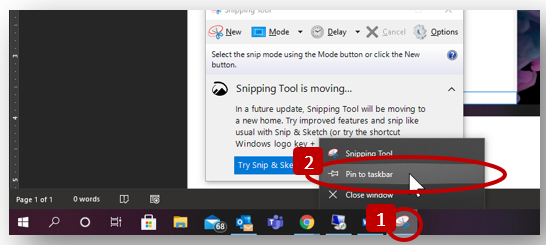
1. While the Snipping Tool is open, right-click on the Scissors Icon in your task bar.
2. Select the “Pin to taskbar” option. This will keep the program icon in the taskbar even when you aren’t using it. All you will need to do to open it in the future is click on the Icon.
When you want to insert a picture from a website or another item displayed on your compute, complete the following steps:
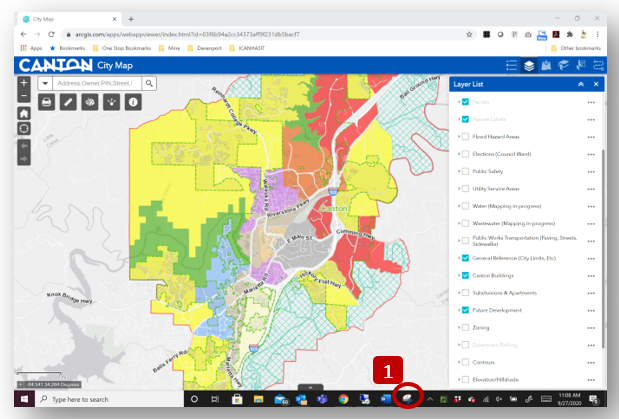
1. Display the item you want to insert into a document on your screen and click on the Snipping Tool.
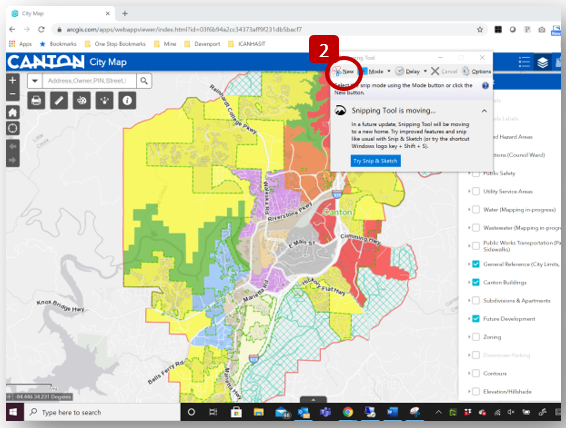
2. The Snipping Tool will display over the screen. Click the “New” button.
a. The screen will become grayish and you can drag the cursor to select the area you want to capture.
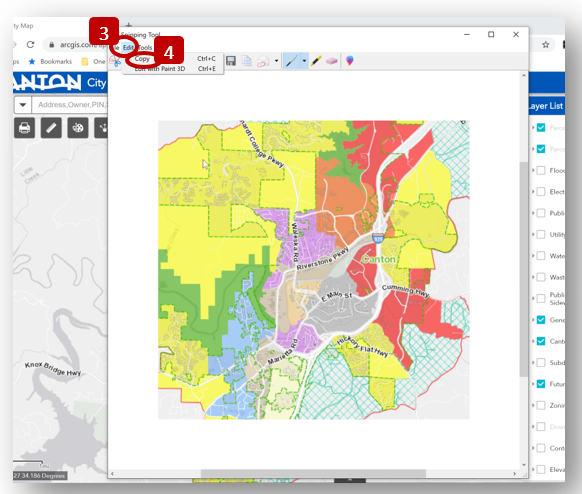
3. When you let go of the cursor, the area you selected will be displayed in a window on your screen. Click the “Edit” tab.
4. Select “Copy.”
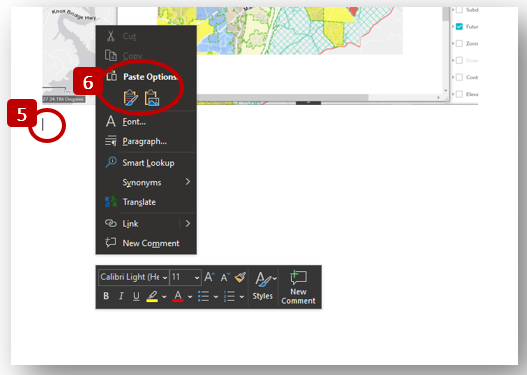
5. Return to the document or email you want to insert the picture into. Right-click in the area where you want to insert the picture.
6. Select one of the “Paste Options." ("Ctrl V" will also paste the clip into your document or email.)